Have you been watching the photo transfer trend? Everyone is doing it! This trend is growing by leaps and bounds! Everywhere you look, photos, words and messages are being transferred onto all sorts of surfaces. You may wonder ... "How is it done?"
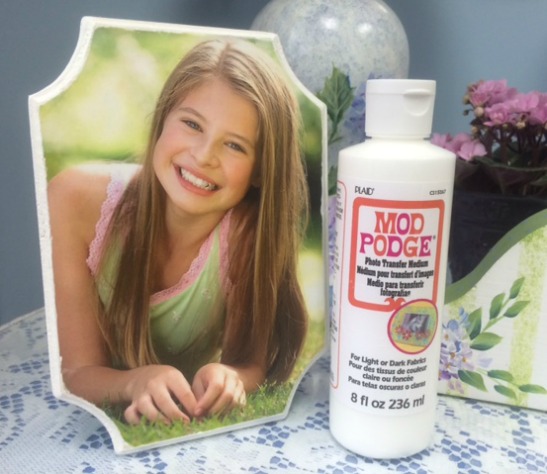
Well, Mod Podge has the answer! Transferring a photo onto just about any surface such as wood, metal, glass, terra cotta and even fabric is so easy to do using Mod Podge Photo Transfer Medium! Take a look at the photo below, it was transferred onto an inexpensive wood plaque and now is preserved for years to come!
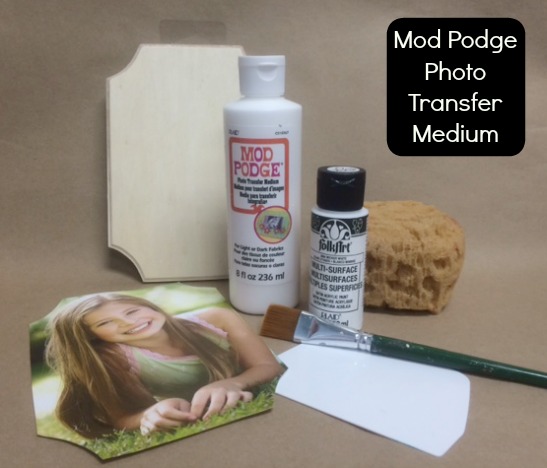
Let's gather a few supplies and see how it is done ....
Miscellaneous Supplies: Brush Basin or container for water, Paper Towels, 3/4" Flat Brush, Fine Grit Sandpaper, Scissors, Flexible Squeegee (Optional), Cellulose Sponge, Print of Photo to be transferred, (dry toner based photo copy)
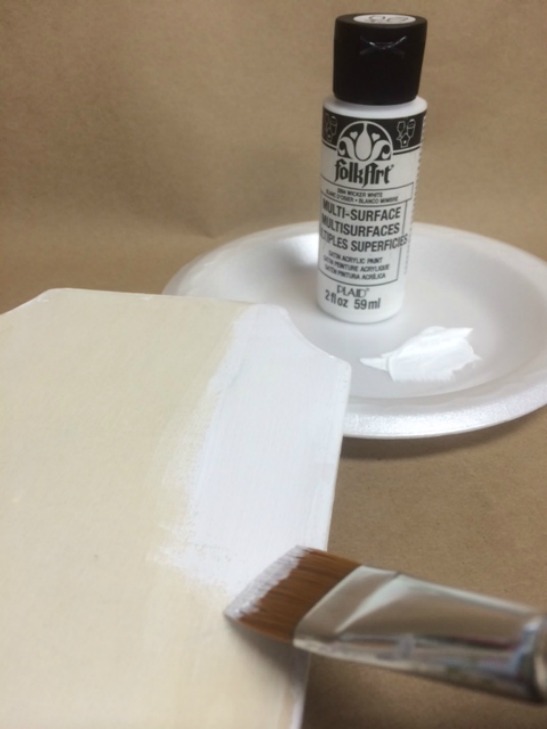
I began this project by preparing my wood plaque. First I basecoated it using FolkArt Multi-Surface paint - Wicker White and a 3/4" flat brush. When it was dry, I sanded the plaque smooth using fine grit sandpaper. TIP: If desired, reapply a coat of Wicker White especially on the routed edges of the plaque at this time. Reapplying the base color will allow the edges to look clean, crisp and professionally finished!
Tip: When selecting an image to transfer, remember always to NEVER use an actual photograph. You must always use a photocopy of the original. Also photocopies should be created on a dry toner-type copier. Another key tip is to remember to have your image created as a mirror image or in reverse if there is text such as birth or wedding announcements, family reunion messages, or even your favorite saying or poem!
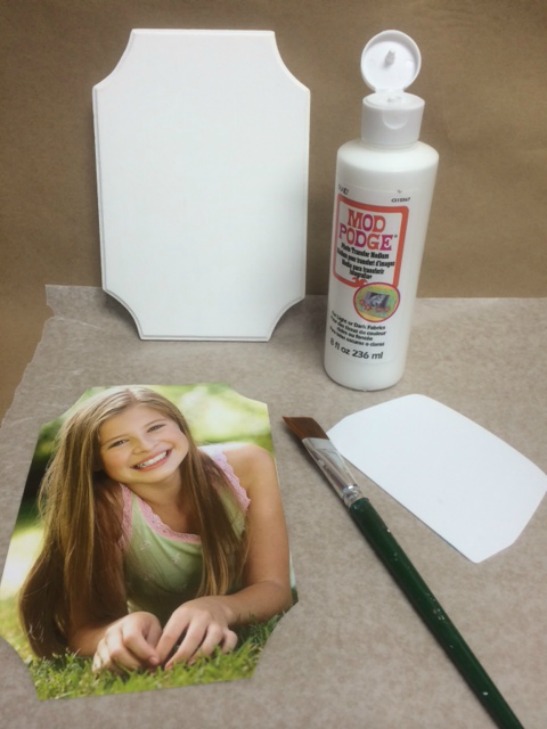
The image I used for this project did not include any text so I worked directly with the photocopy. Using scissors, I trimmed the photo to the size and shape of my plaque.
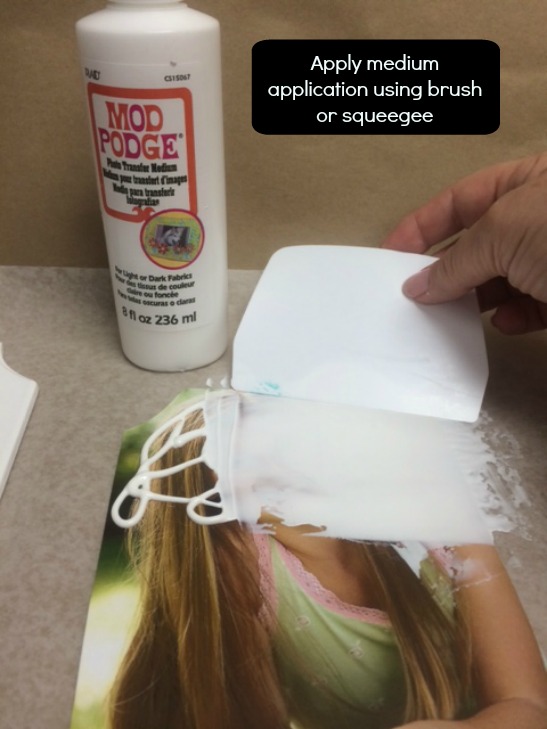
Next step is to apply the Mod Podge Photo Transfer Medium directly onto the face of the image being transferred using either a 3/4" flat brush or a squeegee. TIP: I like to lay a sheet of waxed paper down over my work surface as extra protection. Mod Podge Photo Transfer Medium should be applied to the image in a level, medium thickness.
You will immediately notice that Mod Podge Photo Transfer Medium is much thicker in consistency than regular Mod Podge. TIP: Through the years, I found a really neat trick ..... I prefer using a flexible squeegee to "spread" the Mod Podge Photo Transfer Medium. As it is applied, the image will disappear as shown below.
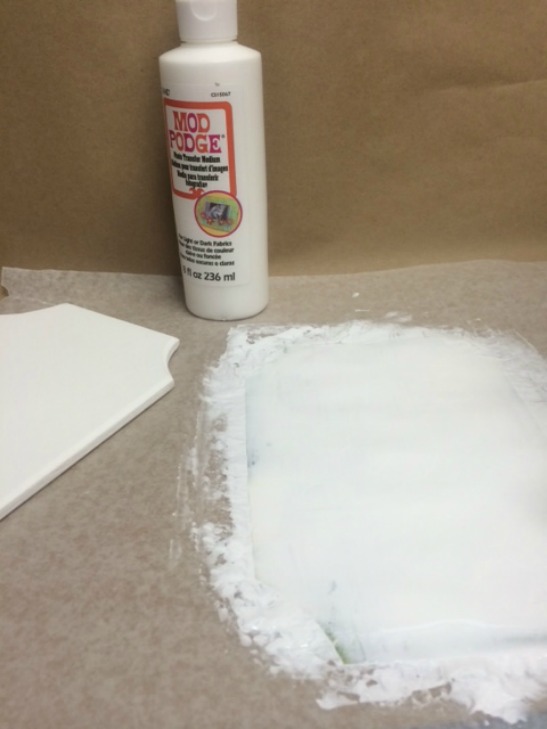
And here is a look at the image completely covered with Mod Podge Photo Transfer Medium using a flexible squeegee as the applicator tool.
I then carefully lifted my coated image off of the waxed paper being careful not to get my fingers over the wet medium. TIP: Carefully use only the tips of your fingers or fingernails when holding the coated image. Next, I flipped the image over and placed it over the prepared plaque (Mod Podge Photo Transfer Medium side down on the face of the plaque). Lightly smooth from the center outwards to release any captured air bubbles. Now the hard part comes ... you MUST wait 24 hours or overnight to allow the Mod Podge Photo Transfer Medium to do its thing .....

And here comes the F U N part .... this is the voila moment!! Wet a cellulose sponge with water, squeeze out excess water and then begin dampening the backside of your image with the wet sponge. TIP: You will immediately notice the reversed image show!
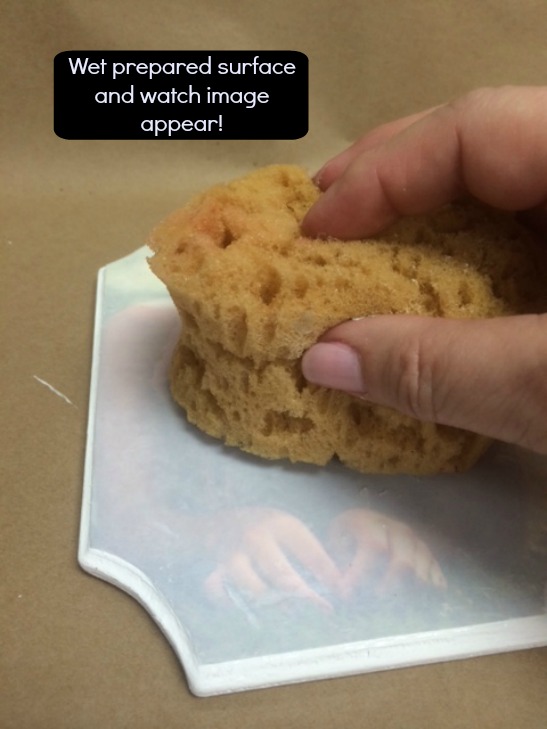
I like to let my moistened plaque set for just a moment and then I begin rubbing with light pressure over the entire plaque. Immediately, you will feel the paper begin to "roll up" and peel away. TIP: You can either use your fingers as the tool of choice to rub over the plaque ..... OR ......
..... you may use the wet sponge!
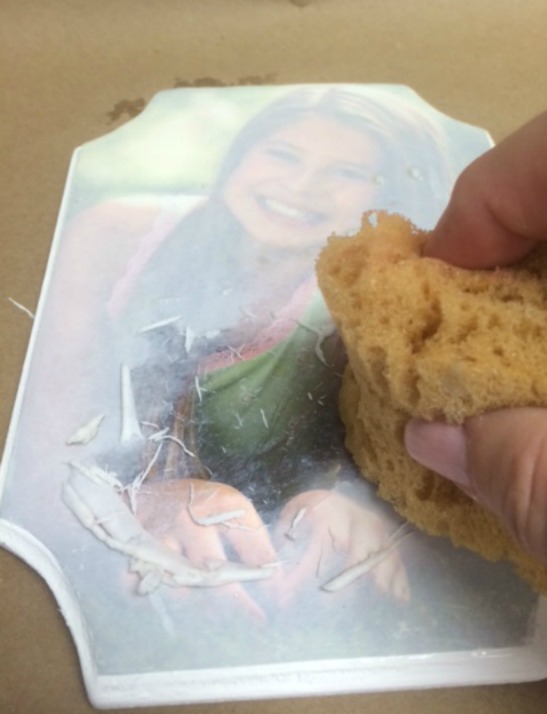
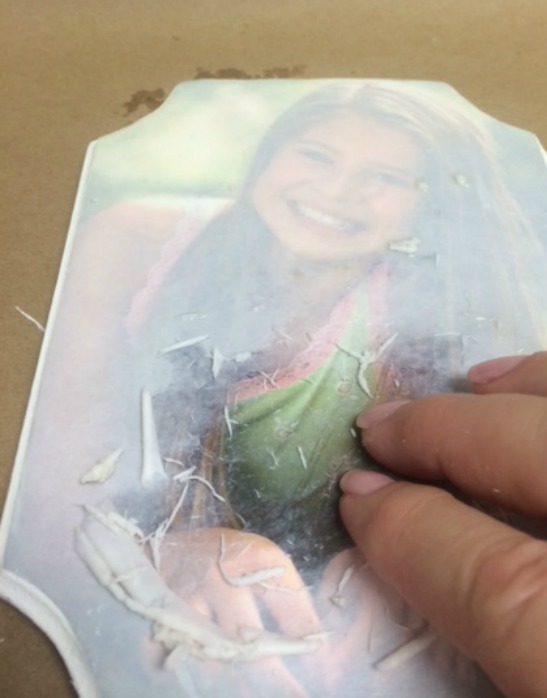
While wet, it may feel as though you have removed all the backing paper because the image will show through clearly within a few moments. However, you MUST allow the surface to dry and repeat this step. When dry, you will notice a white haze over your image which may be stronger in some areas. This white haze is the remains of the paper on the back of the image.
TIP: When repeating the wet and rubbing steps to remove the paper, I highly recommend using a very light touch as you do not want to remove the paper too fast or possibly rub too deep to disturb your transfer image.
Once completed, I then brushed a coat of Mod Podge Matte over the top of my completed plaque to seal and protect. And here is another look at my photo transfer project ... what do you think? Want to give it a try ... it really is just that simple!