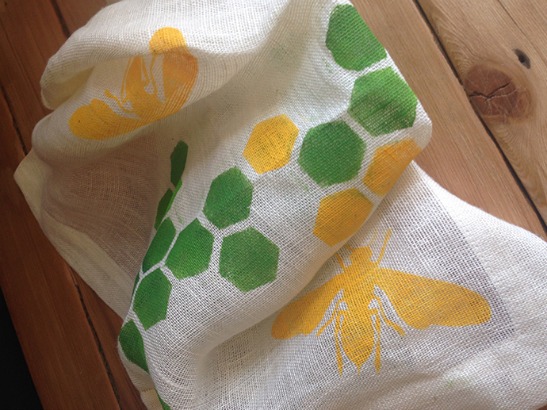
It’s May and we are finally getting some sunshine in Brooklyn! To celebrate we made a spring-themed cloth napkin! We experimented with a couple things for this project. We used green for the honeycombs/hexagon pattern because it reminds us of spring but also because it is unexpected. In a similar way, we wanted to use our hexagon repeat pattern, a very symmetrical pattern, in an unexpected way so we played around with an asymmetric design.
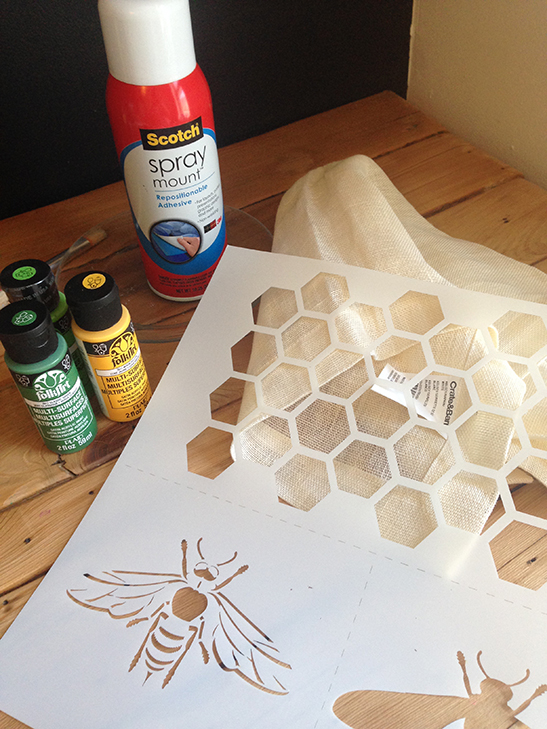
For this how to you’ll need: Stencil1 Honey Bee stencil set, FolkArt Multi-Surface Acrylic Paint, stencil brushes, painter’s tape, low-tack spray adhesive and a cloth napkin.
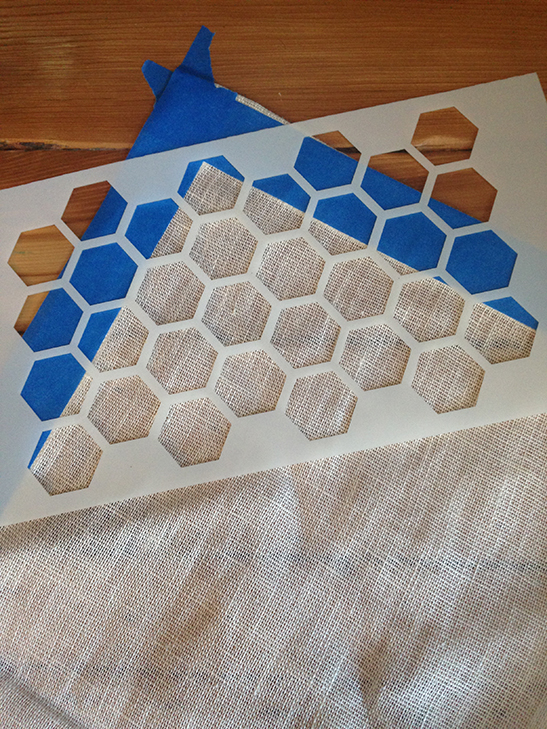
Step 1: The napkin that we used had a very beautiful and defined edge. We didn’t want to stencil over it but we also didn’t want the pattern to stop at the edge. In order to keep the pattern continuous, we covered the edge with masking tape this way we were able to paint the pattern without getting paint on the edge.
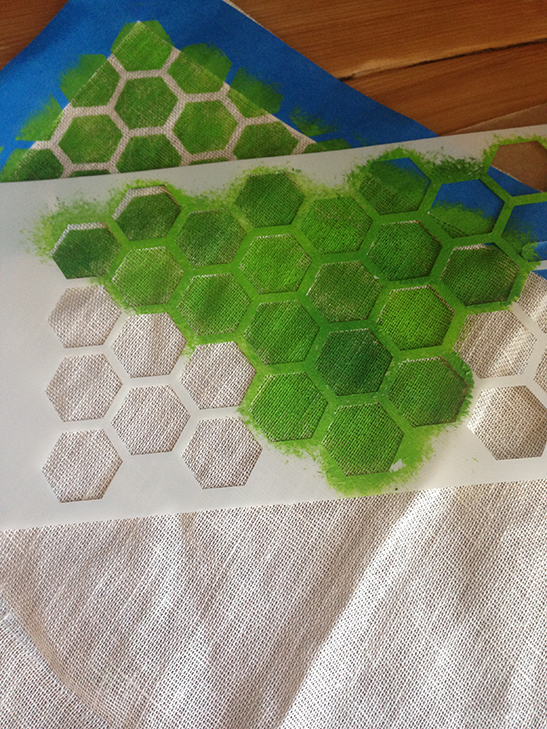
Step 2: Use the spray adhesive to make the back of your stencil sticky. This is helpful when stenciling on fabric because it keeps your stencil in place and allows for a cleaner look.
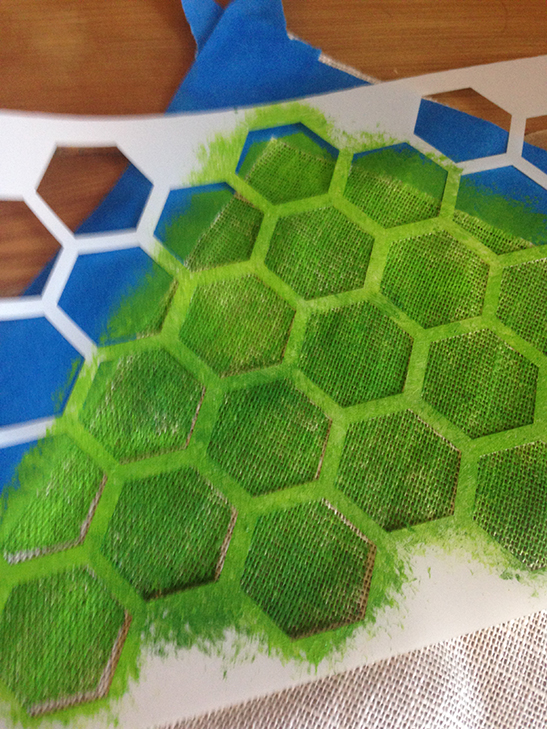
Step 3: Paint in the stencil using a stencil brush. Remember to use a dry brush technique. This means using less paint and applying more coats. You can stencil in a circular or up-and-down motion.
Step 4: Lift the stencil and allow the paint to dry. Once the paint is dry to touch, move the stencil down and continue stenciling the rest of your napkin. Use what you already painted as your guide to place down the stencil.

Step 5: Repeat step 3 and 4 until you like how your napkin looks. Have fun playing around with placement and painting only parts of the stencil. We made a few of our hexagons yellow!
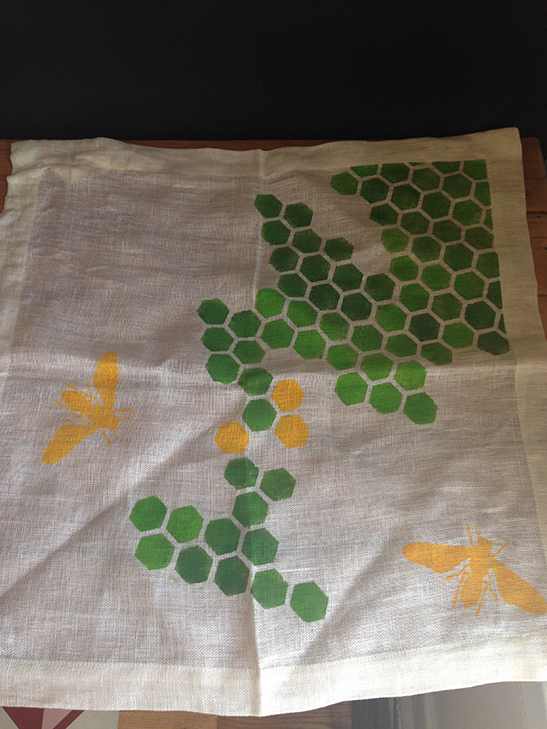
Step 6: Once you’re done with the pattern, add a finishing touch with the bee stencil. We decided to use the first layer of the stencil only because we liked how it looked with the geometric pattern we created on the napkin.
Step 7: Heat seal your napkin with an iron once the paint is dry. This napkin could be used as a centerpiece, a table runner or anything that needs a little spring. Show us how you use yours @Stencil1.