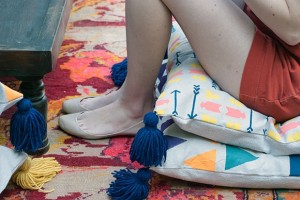
These cushy floor pillows not only make an adorable accent in your home but they're great for entertaining, too! I love entertaining outdoors and while there, stacks of plushy pillows are where you can find me lounging all season long! So you can get in on the fun I created an easy to sew free pillow pattern just for you! The hip patterns were created with FolkArt Handmade Charlotte Stencils.
Supplies:
Canvas (enough for at least two 25” x 25” squares depending on how many pillows you want to make!)
Water-soluble pen
Gridded cutting ruler
FolkArt acrylic Paint
Stencil brushes/pouncers and paint brush (for large dot)
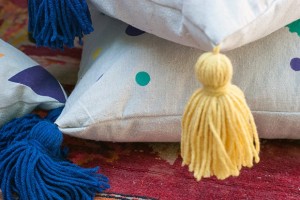
Yarn (for tassel making) *optional*
Pillow Stuffing (or pillow form)
Sewing machine + thread
Tassel Tutorial – Found Here
FolkArt Handmade Charlotte Stencils:
4364 Celestial
4366 Frames
4365 Labels
4369 Party
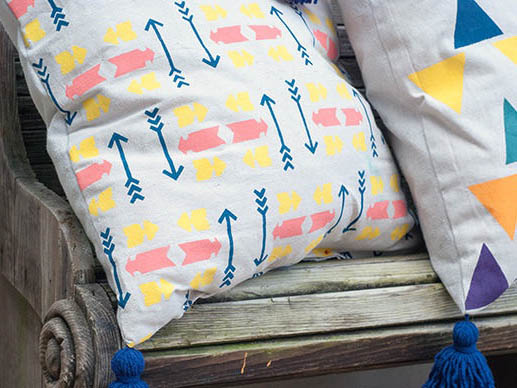
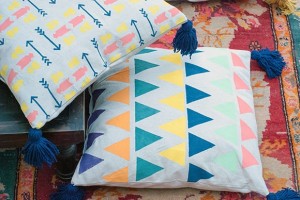
Arrow Pattern
Grid repeat size for arrows pattern: 3 ½” wide x 4 ½” high. Trace these dimensions onto your fabric using a water-soluble pen and a cutting ruler. Cut down the stencil around the arrows to the above-mentioned size. Simply lay the stencil over the grid you’ve already created on the fabric, flipping the stencil upside down in every other box. Once you’re ready to start the next row, lay that stencil down opposite what it is directly above it. (Ex. If the stencil in the box above is facing up, you’ll begin this row with the stencil upside down and continue with the same opposite pattern)
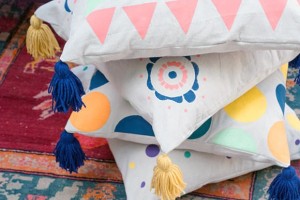
Large Scale Polka Dot Pattern
Cut down the edges around the circle to a ¾” square. Begin by lining up the edges of your template with the squared edges of your fabric.
Once you move down to the second row, find the center point in-between the two circles above; center the next circle on that line and trace. This is called a half-brick repeat pattern.
Small Dots Pattern
We just threw caution to the wind on this one and just started laying the pattern down at random! This is a sort of “tossed pattern” if you will.
Triangle Pattern
Simply reverse the direction the triangles point with each row. “Up, down, Up, down, etc.”
“Moroccan” inspired design
For this design, we chose to simply tile the stencil 5 times onto the fabric.
Sewing:
For Fiberfill – With RIGHT sides together, sew around nearly all four corners of the pillow at ½” seam allowance, leaving a small opening (enough to fit a handful of stuffing through) at the bottom of the pillow. Flip pillow to right sides out and fill. Hand stitch the opening closed or sew over opening with a machine.
For Pillow Form – Follow the same instructions as above; just leave a larger open space at the bottom of the pillow to fit the form inside. We recommended sewing this unfinished seam closed by machine. Or, if you’re feeling really fancy, put a zipper in that seam.