We have compiled a list of simple craft tips that every crafter needs to know! These are tips will come in handy for beginning or experienced crafters. They are across all forms of crafting and we picked 5 tips to share.
Painting
- Never store a brush resting on its bristles. Also its best to store a paint brush with the bristles upright or store the brush lying flat.
- To transfer a pattern to your project surface when you do not have any transfer paper, simply rub the backside of your pattern lines with pencil. Flip the pattern over and retrace your pattern lines on the front. The rubbed pencil on the backside will transfer your pattern.
- To aid in paintbrush clean up ... add a couple drops of liquid dish detergent to the water in your brush basin. With every "swish" between colors and when switching brushes, you are helping to clean unused paint from your brush.
- When painting a stretched canvas, layering books underneath the canvas will create a hard surface to work against.
- Try cleaning dried paint from a paintbrush using Murphy's Oil Soap. Soap your brush for 24 - 48 hours, the dried paint dissolves and your bristles are like new!
Stenciling
- Try cleaning dried paint from a paintbrush using Murphy's Oil Soap. Soap your brush for 24 - 48 hours, the dried paint dissolves and your bristles are like new!
- When stenciling on fabric, try adding fine grit sandpaper between the backing board and the fabric -- grit side up. The fine grit sandpaper will "grab" the fabric and prevent it from moving or shifting while you are stenciling.
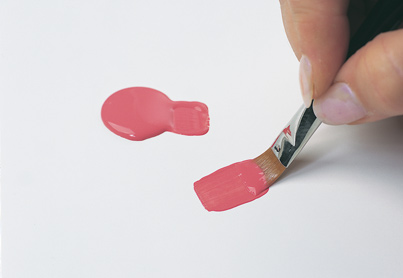
- Properly loading your stencil brush is the KEY to achieving successful stenciled images. It is best to load the stencil brush and then remove some of the paint creating a “dry brush.” To load, apply paint to the bottom bristles of the brush and wipe onto a paper towel prior to stenciling on your project surface.
- When stenciling an overall background pattern on your project surface, it is key to begin stenciling in the center of your surface and work out toward the edges. This will ensure that you end up with an even design that is centered and equal at the edges.
- For an easy clean up when stenciling, pour rubbing alcohol in a shallow dish and submerge paint loaded stencil. Wait a few minutes and you will see that the paint literally peels right off. Simply rinse the stencil under running water and voila a super clean stencil
Glass Painting
- For best paint adhesion, it is important to properly prepare your glassware before painting, always wash glassware in warm soapy water; rinse well and allow to dry. Wipe washed surface with a rubbing alcohol dampened paper towel to remove any remaining dirt, grease or soap film.
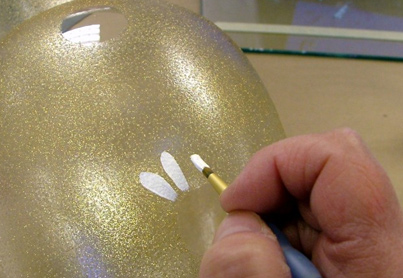
- Want to paint a pattern onto glass and all you have is line art and do not want to paint it free hand? Try taping the pattern onto the backside of the glass. You will be able to see the pattern lines through the glass to paint your design.
- 3. When painting on glassware and you want opaque paint coverage, allow the first application of paint to thoroughly dry before applying a second application of paint.
- To reduce streaky brush marks on glassware, select a soft bristled brush, apply less pressure when painting and paint in long, smooth brush strokes rather than short, choppy ones.
- When painting on glass drinkware, be sure to drop your pattern down from the lip of the glass approximately 5/8" or so. It is best not to allow your mouth to touch areas painted.
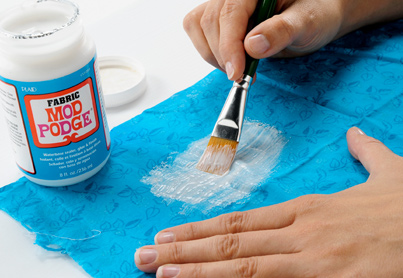
Mod Podge/Decoupage
- When preparing your paper print for decoupage, be sure to trim close to the design lines so that background paper colors are not showing.
- It is best when cutting paper shapes to turn the paper as you are cutting rather than turn the hand that holds the scissors. You will achieve a smoother cut.
- Did you know it was important to apply pressure to the paper or fabric being decoupaged after it is applied to the project surface? It is important because you want to make sure you have a good contact, you squeeze out excess decoupage medium and release any caught air bubbles.
- An easy way to keep your decoupage tools such as a brayer or squeegee clean when in use …. Lay a sheet of waxed paper over the surface, keeping it between the paper print and/or fabric and your tool. When using these tools, the squeegee or brayer will be touching the waxed paper rather than surface. Excess decoupage medium when squeezed from underneath will be on the underneath side of the waxed paper rather than your tools. The waxed paper can be tossed and your tools are clean!
- Allow your freshly applied paper print or fabric to set and partially dry for 15 minutes before applying your first topcoat of decoupage medium.
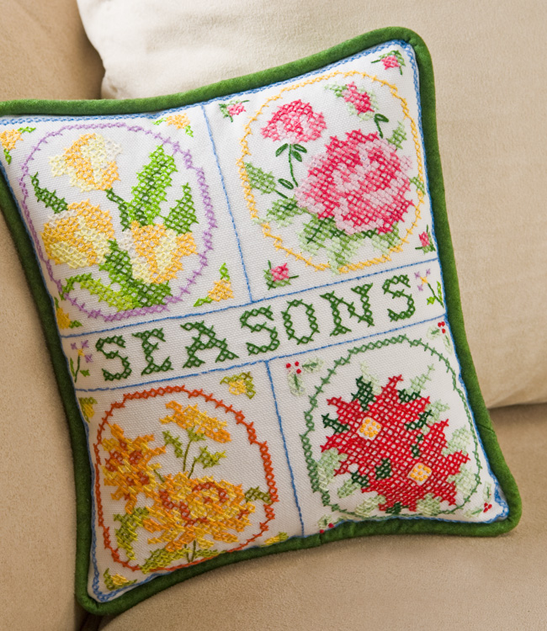
Stitching
- If you are a beginner at cross stitching, one of the best tips to learn is … when cross stitching a row either horizontal or vertical, complete the first half of the stitch all the way across the row, then reverse your direction and complete the “x” stitching all the way across the row. Do not stitch each “x” independent of the other.
- Did you know that it is best not to knot your embroidery floss on the back of your project when cross stitching? It is because knots can create lumps or bumps that may appear on the front of your project once mounted. And knots can get in the way while you are stitching. Sometimes knots can pop through to the front on the loosely woven fabric. And should you make a mistake, a knot is harder to undo. And as a rule of thumb, most experienced cross stitchers will advice you that the back of your project should look as nice as the front, it should not look messy and knots could make the back look messy.
- Why is my embroidery floss constantly being tangled? Here are a few tips to help with that craft dilemma .. 1. take the time to separate the six strands of floss and then recombine them (this is called “stripping the floss” ); you will find less twisting or knotting and your stitches will lie flatter too. 2. Try running each separate strand of cotton floss over a damp sponge just before using it; this too will help stitches to lie flat. 3. Every once in a while let your floss and needle dangle to unwind or untwist it.
- Before you begin any needlework project, always wash your hands to keep them clean. Do not use hand lotions as they may affect the fabric and embroidery floss.
- If you need to store a work in progress for a long time, do not store it in plastic as it can trap moisture or may overtime release chemicals, which can damage your project. Store your project in a fabric bag or white cloth rolled up.
These are just a few of our tips, share some tips you have discovered to make crafting easier!