When crafters are asked, "Why do you craft?" high on the list of responses is .... for the enjoyment of crafting for others to give handmade presents created with love! And this definitely is the season to fulfill that reason, isn't it?
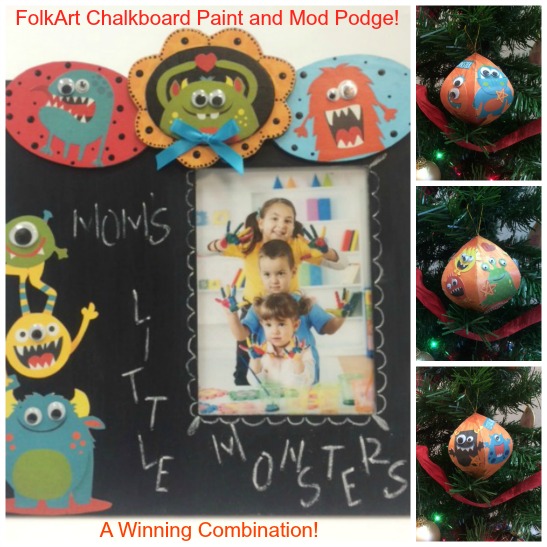
Today's how-to project is perfect in two ways ... one is to learn how to create a chalkboard surface and the other is to learn how to decoupage; it is a winning combination! Check out this project below.
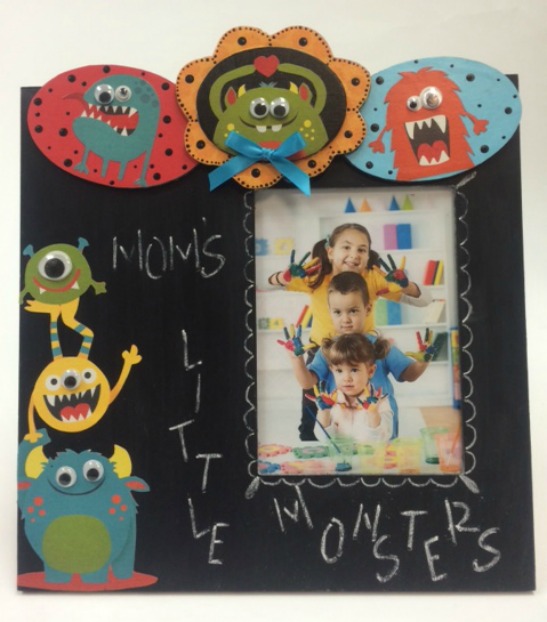
An adorable "Mom's Little Monsters" frame and ornament is perfect for holiday gift giving! Come learn how ....
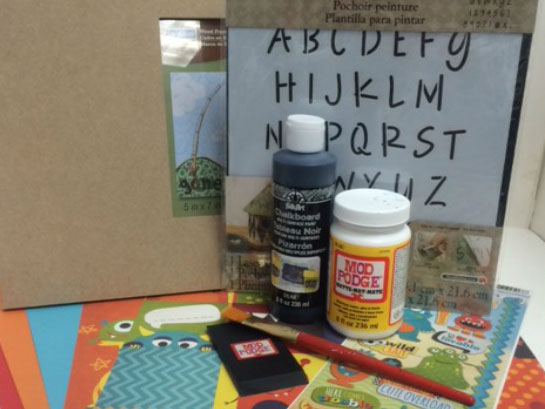
Let's get started with our list of necessary supplies. ..
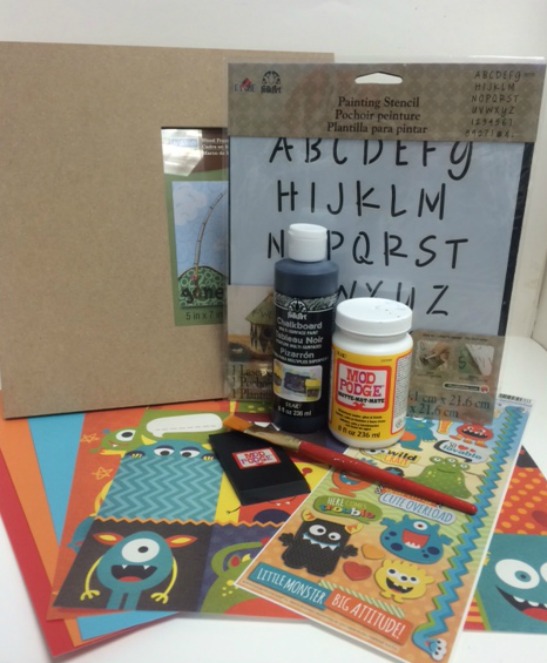
- Wood 5" x 7" frame with off-set opening
- 2651 FolkArt Chalkboard Multi-Surface Paint
- CS11301 Mod Podge Matte
- 2957 FolkArt Multi-Surface Paint - Pure Black
- 30739 FolkArt Painting Stencil - Lite Felt Tip Marker
- 2295 Mod Podge Professional Decoupage Tools
- P-0699 Paper House Monster Bunch 12 x 12 Scrapbook Paper
- P-0698 Paper House Monster Stack 12 x 12 Scrapbook Paper
- P-STCX-0185 Paper House Monster Madness StickyPix Cardstock Stickers
- Miscellaneous Supplies: Solid color scrapbook paper (color to compliment monster papers), 4" Wood oval cutout (2), 5" Wood oval flower cutout (1), Brush Basin for water, paper towels, 3/4" Flat brush, Scissors, Wiggle Eyes, Hot Glue, 12" Double-faced satin ribbon, fine grit sandpaper, Pencil. White chalk, Paper mache ornament (opt)
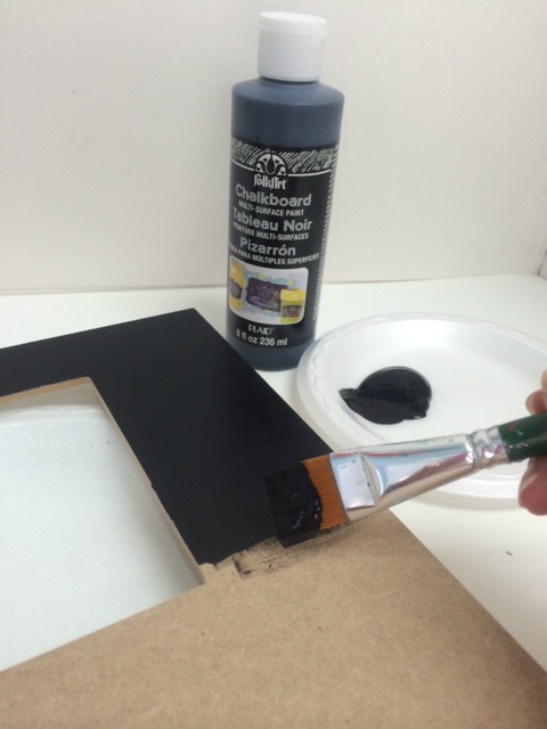
Let's begin ... using a 3/4" flat brush, I basecoated the surface of the frame with FolkArt Multi-Surface Black Chalkboard paint. The first application of paint when dry may have raised the wood grain or nap of the wood. Sand smoothly using fine grit sandpaper. Reapply a second coat of chalkboard paint. Allow to dry.
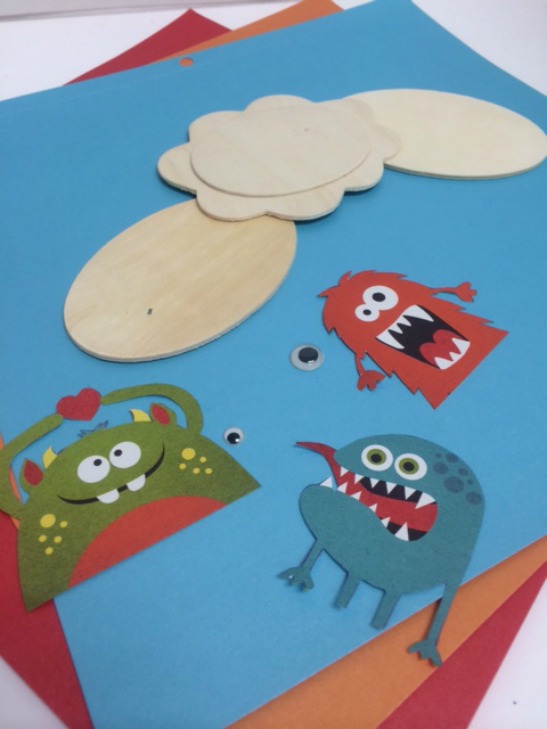
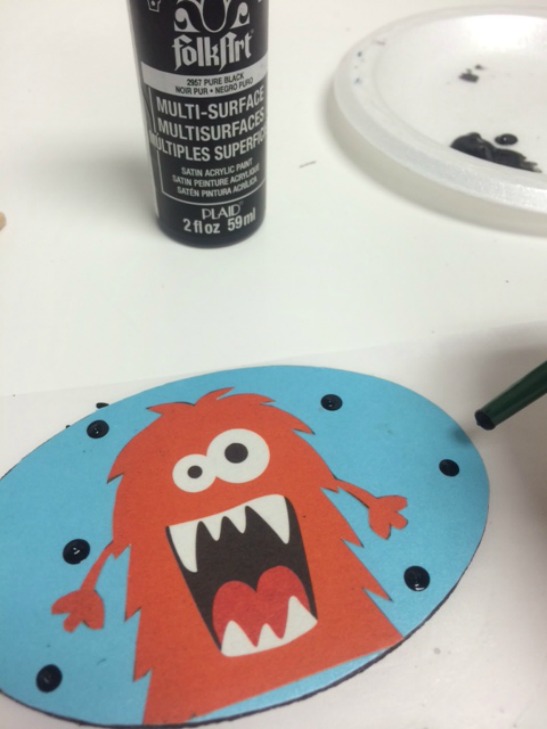
While the paint was drying, I began laying out the design. I was designing solid color scrapbook paper for the wood ovals as a background to the cut out monster papers. These adorable little monsters are made by Paper House Productions, aren't they cute? I also played with the idea of using wiggle eyes which are so fun for kids!
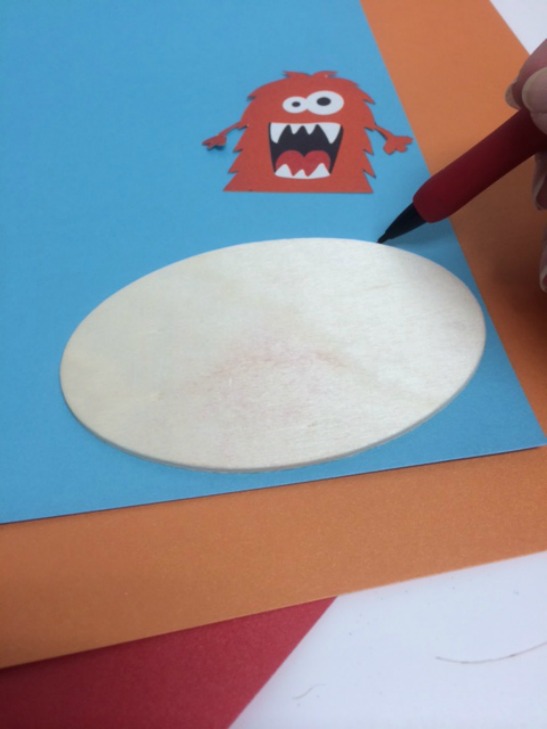
Simply lay the wood cutouts on the scrapbook paper, trace the shape using a pencil and cut out with scissors! Easy peasy!
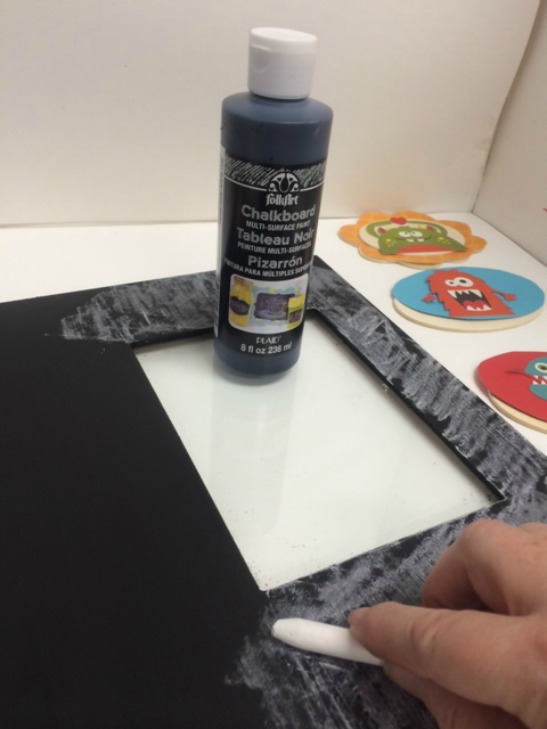
After designing the wood cutouts, my chalkboard painted frame was dry and ready for conditioning. Using a stick of white chalk, I turned the chalk on its side and rubbed over the entire chalkboard painted surface. Then I wiped away the chalk dust with a damp paper towel. TIP: You may be wondering why you need to condition a painted chalkboard surface ... if you don't, you will also see a ghost of what is first written on the surface. I also painted the edges of the wood cutouts with FolkArt Multi-Surface Pure Black paint and allowed to dry.
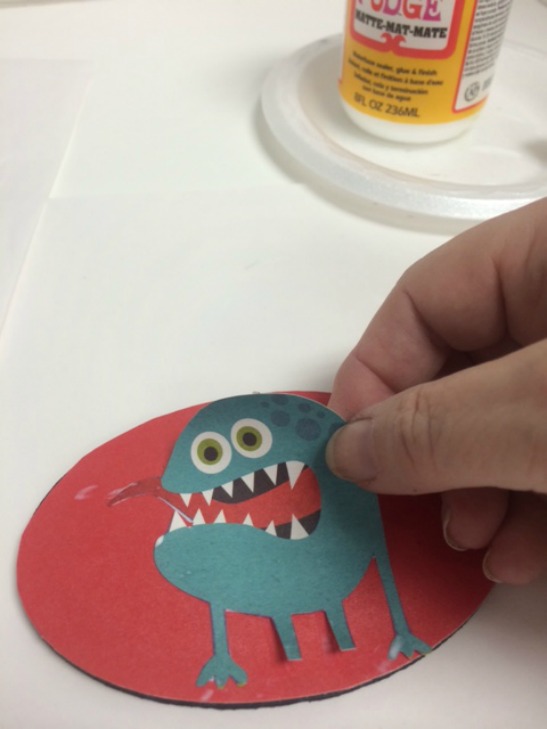
Switching back to decoupage ... it's time to apply the prepared papers to the wood cutouts as well as the painted chalkboard frame. Apply Matte Mod Podge to the wood cutout as well as the backside of the paper. Position the paper directly over the prepared wood cutout and smooth in place pressing from the center out to release any air bubbles or wrinkles.

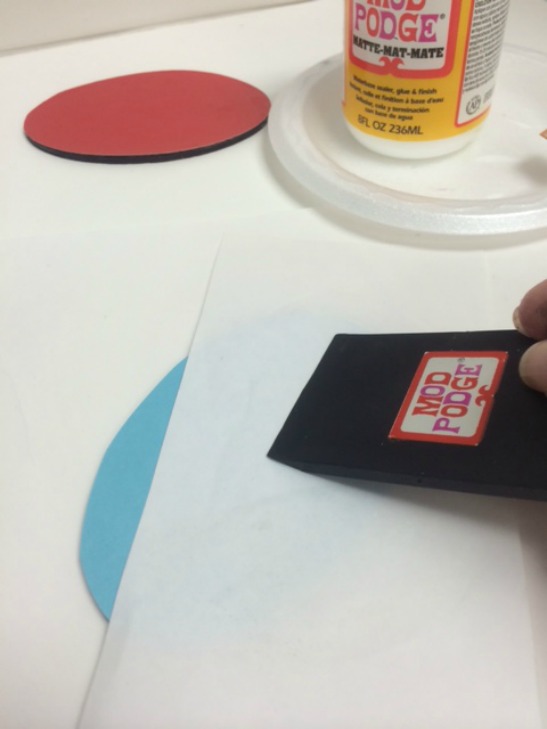
I learned a neat trick years ago and always love to pass it along. TIP: After applying the paper and smoothing it in place, lay a sheet of waxed paper or parchment paper (waxy side down) over the surface. Using either a Mod Podge Squeegee or Mod Podge Brayer, press from the center outwards. The waxed paper will protect the top surface of the paper as well as capture any excess Mod Podge that is squeezed to the edge. Neat trick, eh?
Continue decoupaging the base papers, then begin decoupaging the "monsters" using the same techniques.
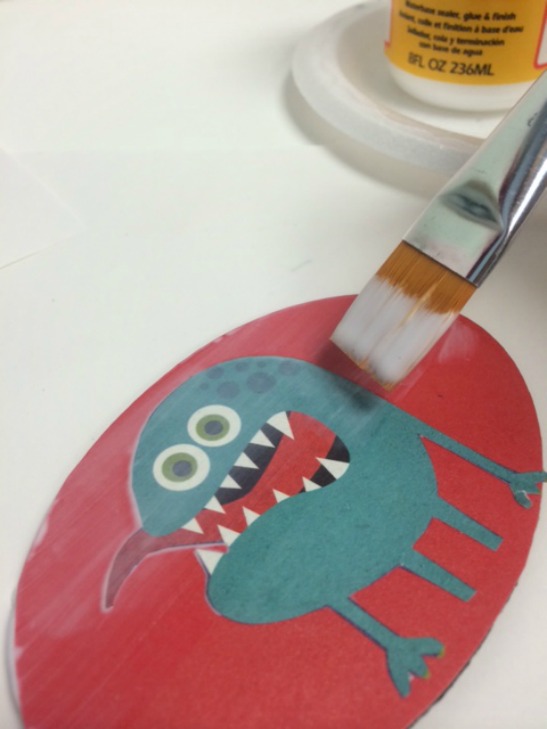
Once all the papers are in place and smoothed down, apply a topcoat of Mod Podge over the entire wood cutout. Allow to dry.
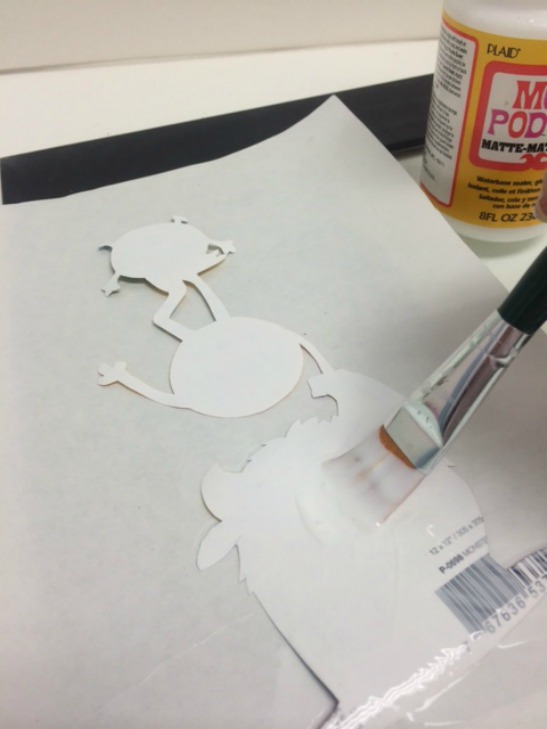
I had cut the monster stack from one paper and wanted it to be decoupaged directly over the painted chalkboard surface. This is not hard, but can be a bit tricky. TIP: It is best not to apply Mod Podge on the chalkboard surface where paper will not be placed as the Mod Podge will seal the surface (which means it will no longer be a chalkboard surface). Apply Mod Podge ONLY to the backside of the paper and then apply the paper to the frame. Allow to dry a few moments and then topcoat the paper portion and a very small halo around the paper edges on the chalkboard. Remember, do not topcoat the entire painted chalkboard or you will seal it.
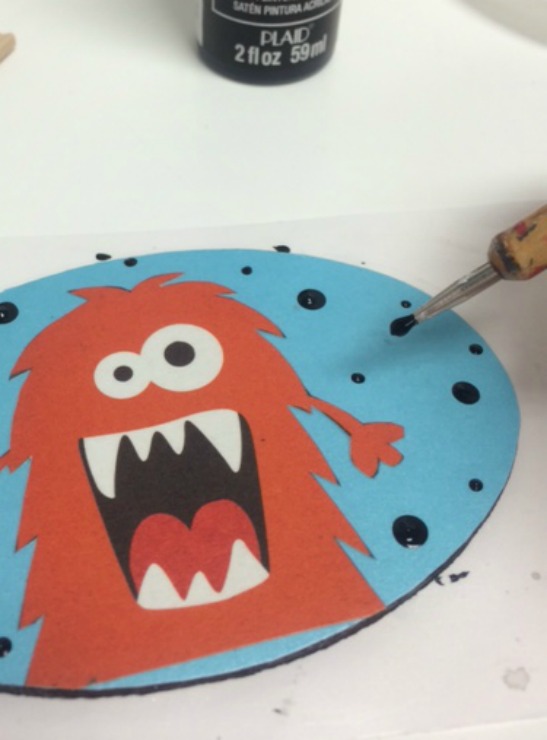
Next I grabbed the handle end of my paintbrush and FolkArt Multi-Surface Pure Black paint and began painting polka dots to embellish the decoupage surface.

I added more Pure Black polka dots ... gotta love polka dots and so easy too!
If you switch to a smaller dotting tool such as a pencil, dead ballpoint pen, a toothpick or an artist's stylus, you can add smaller painted polka dots too! LOVE em!
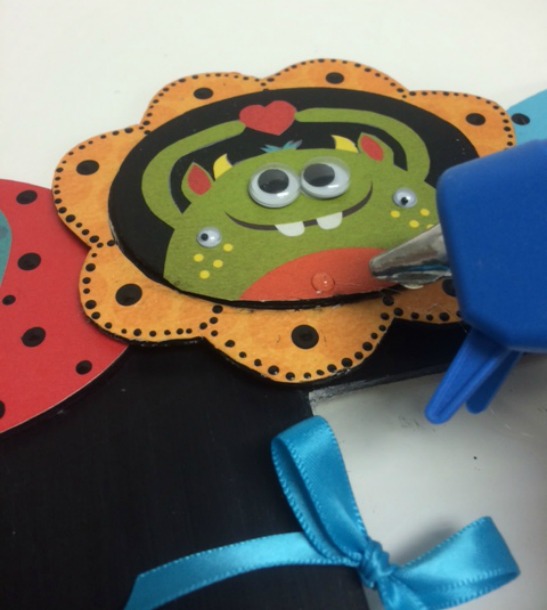
I then used a hot glue gun to attach the wood ovals to the top of the frame. I spaced them so that the two ovals were on the right and left sides while the flower cutout was layered over them in the center of the frame.
Have fun with wiggle eye embellishments too. I simply hot glued a variety of eye shapes and sized to the monsters. Kids LOVE wiggle eyese don't they? (I think MONSTERS do too!)
To continue embellishing, I tied a small bow and hot glued it to the center monster on the flower cutout.
And now to personalize a message on the painted chalkboard frame. A very hot trend we are seeing right now is gorgeous chalked messages with beautiful hand lettering. Don't be afraid of messaging even if you are not comfortable with your handwriting.... I have a simple cheat for you!
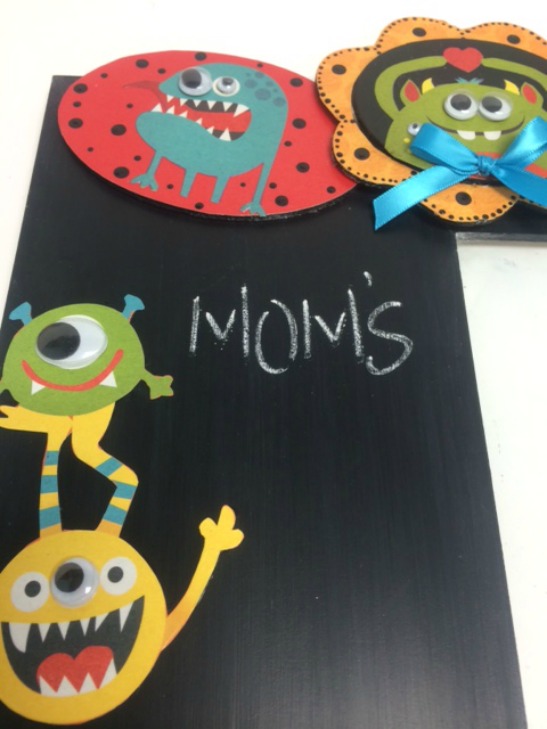
TIP: Lay an alphabet stencil over the painted chalkboard surface and write the letters one by one using the assistance of the stencil! EASY! And here's another fabulous tip ... TIP: did you know you can sharpen a stick of chalk using a wide mouth pencil sharpener? You CAN!!
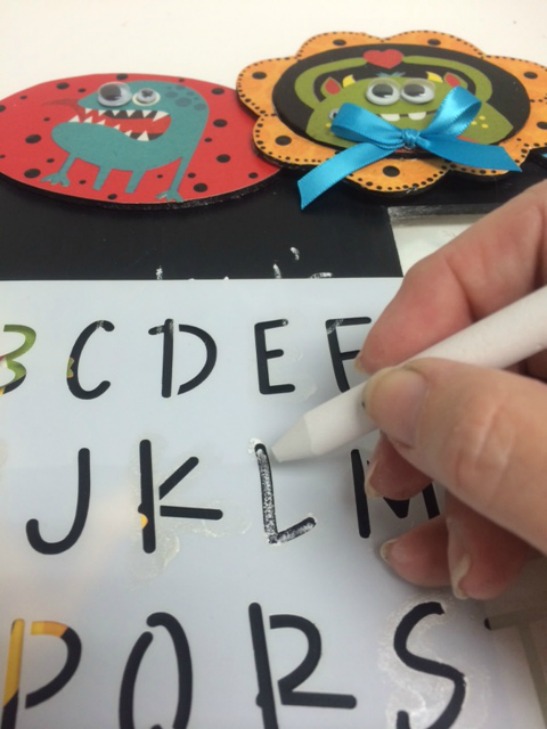
Continue chalking your message and any other doodles or scallops desired around the monsters and frame opening. Have fun with the chalk! Here's a pic of my final project ready for gift wrap ...
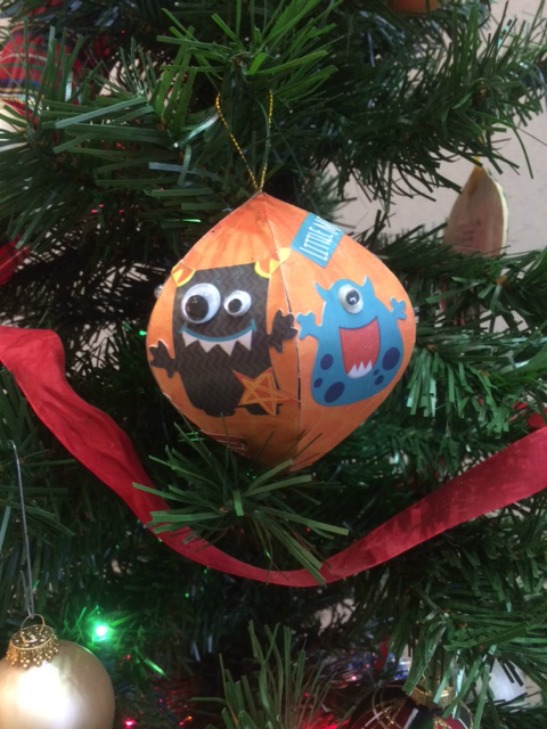
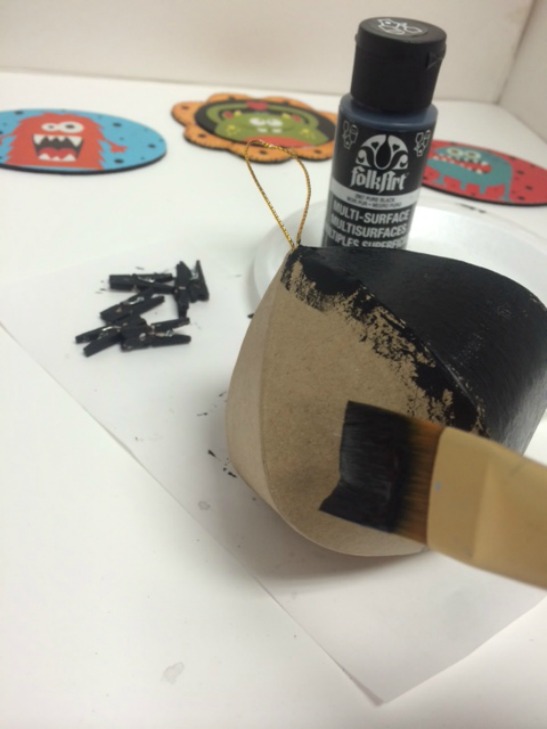
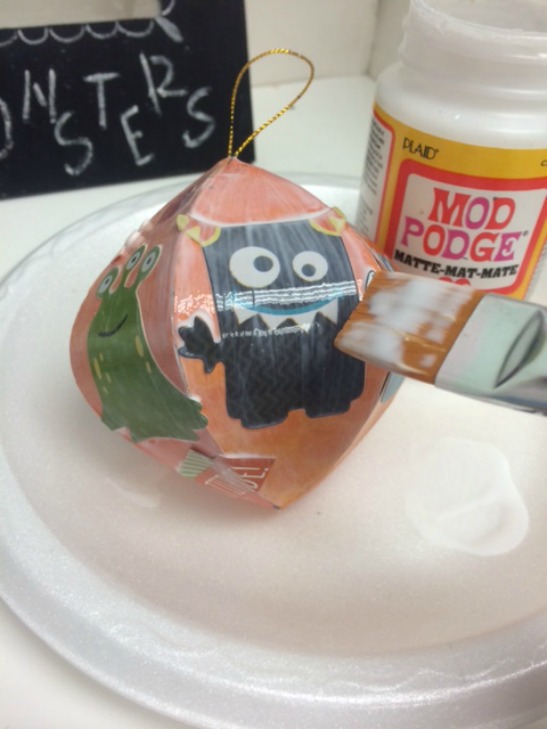
Oh but wait, a hand crafted monster ornament for the package presentation would be perfect, wouldn't it? Quickly I painted a paper mache ornament with Pure Black and allowed to dry.
I then decoupaged the background polka dot paper from the monster stack on each side of the ornament and allowed to dry. To embellish the ornament, I chose a variety of monster stickers and placed them around the ornament.
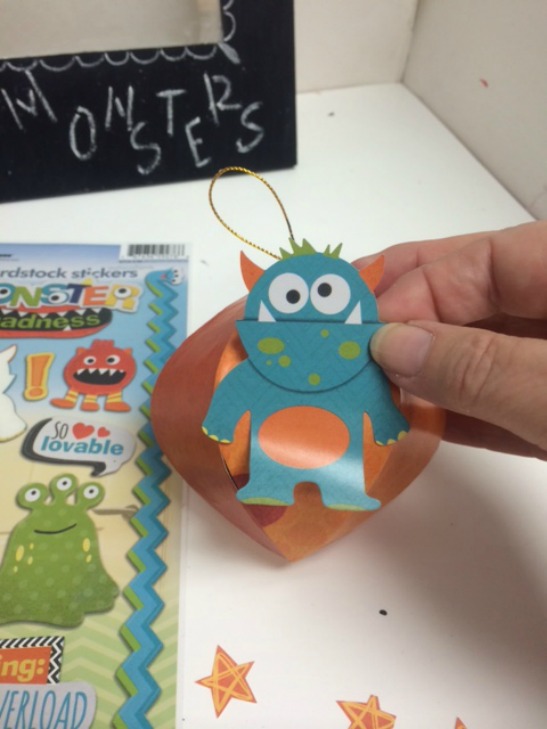
Matte Mod Podge to the rescue to seal and protect the paper ornament!
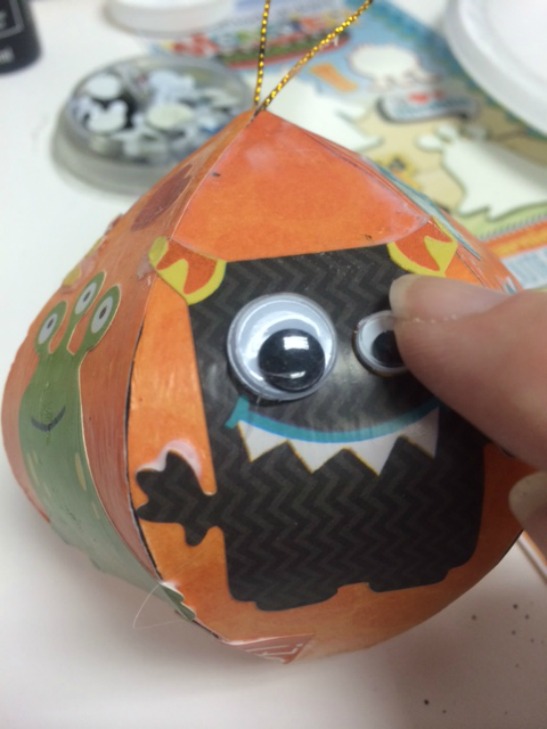
Of course, the monsters would not be complete without their wiggle eyes!
And here is a look at the ornaments from a variety of angles.
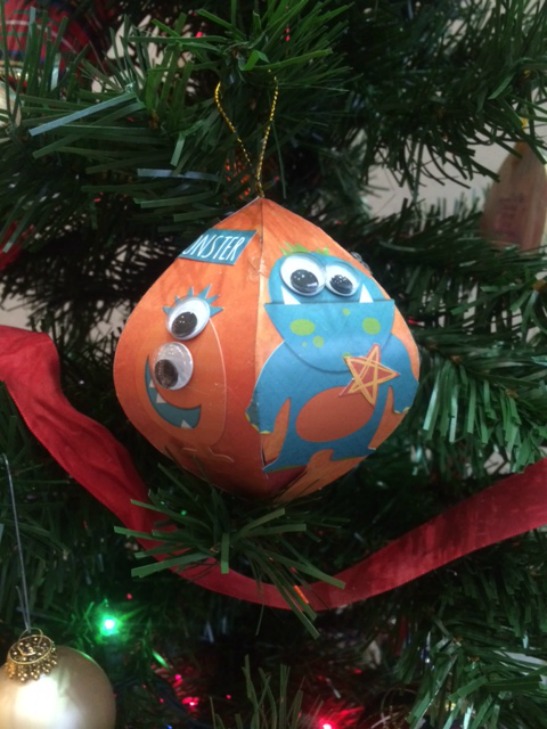
So cute, don't you think?
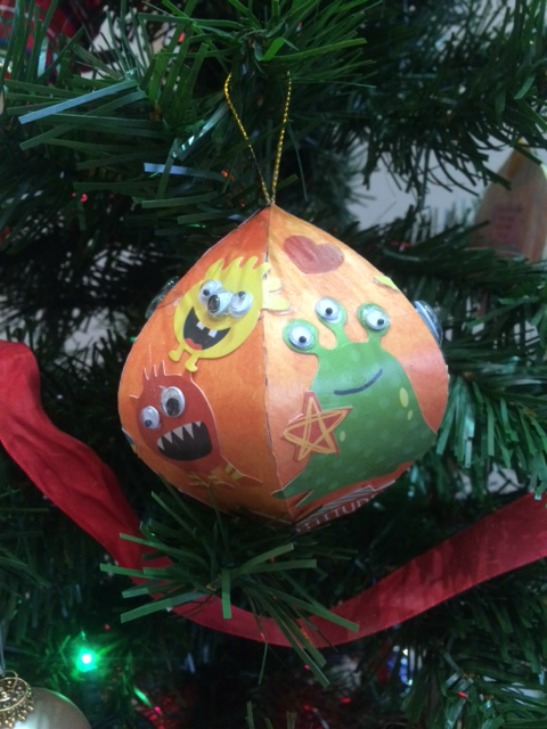
Perhaps this holiday season, every little monster on your list should receive a hand crafted ornament!