Stenciling clothes is one of our favorite things to do at Stencil1. Our new Stencil1 stencil line with Plaid features designs that are great for layering and a perfect way to put a spin on a stenciled shirt. We decided to stencil a onesie for a close friend’s son because who can say no to baby clothes! The unique rustic color of the onesie inspired us to go for an antique look.
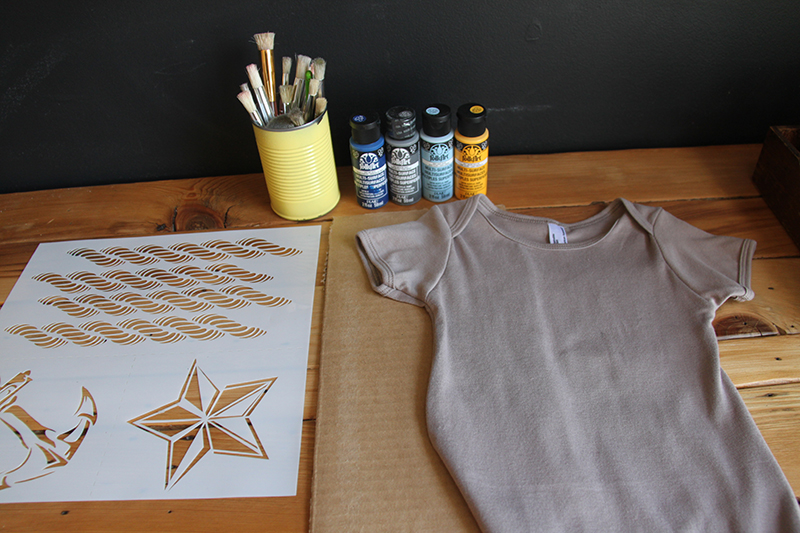
For this how-to you’ll need:
- Onesie
- FolkArt Multi-Surface Arcylic Paint
- Stencil1 Nautical Stencil Set - available in select Jo-Ann Fabric and Craft Stores
- Stencil Brushes
- Cardboard Insert
- Iron
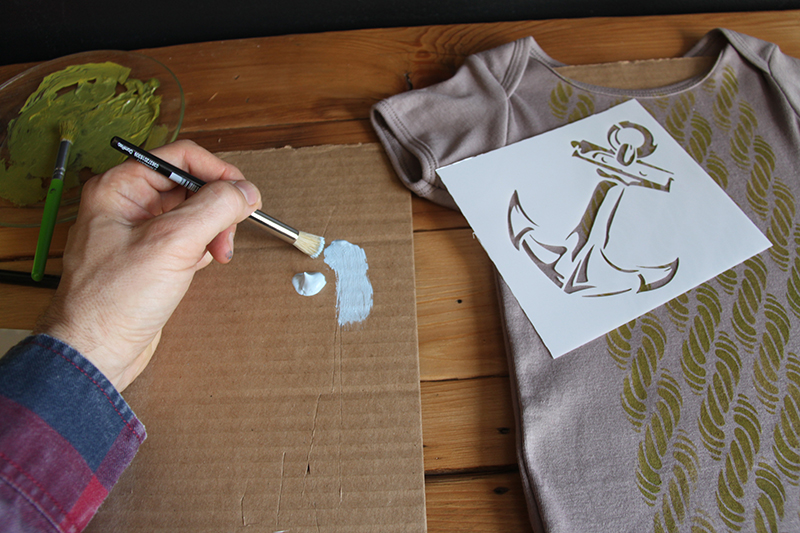
Step 1: To start, slip a piece of cardboard inside the onesie. This will give you a flat surface to work on and will also prevent the paint from seeping to the back of the onesie.
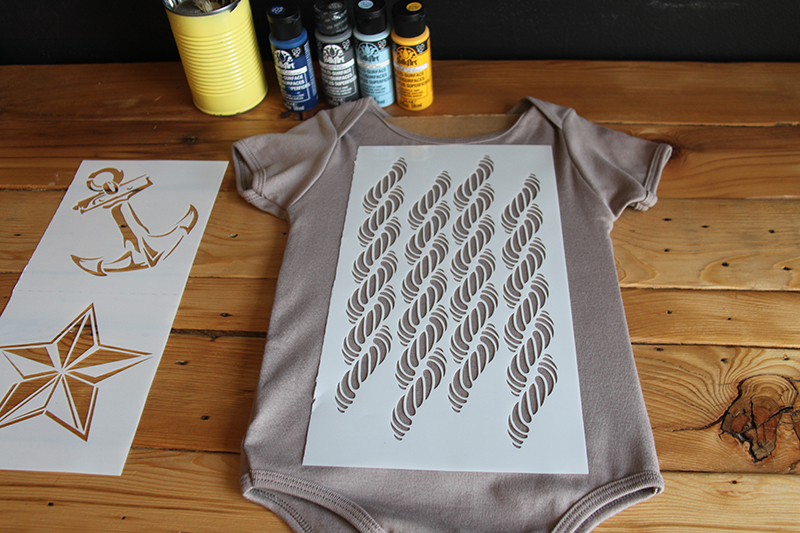
Step 2: The nautical stencil set has a beautiful chain pattern. We love how this pattern looks when you stencil over it, so we’ll make this our first layer. First, center the pattern stencil on the onesie.
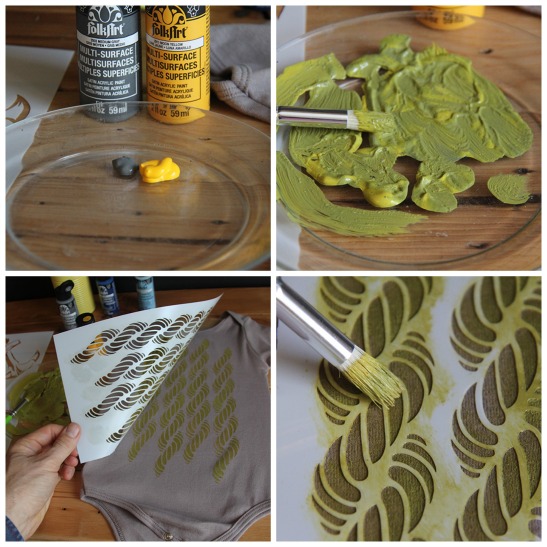
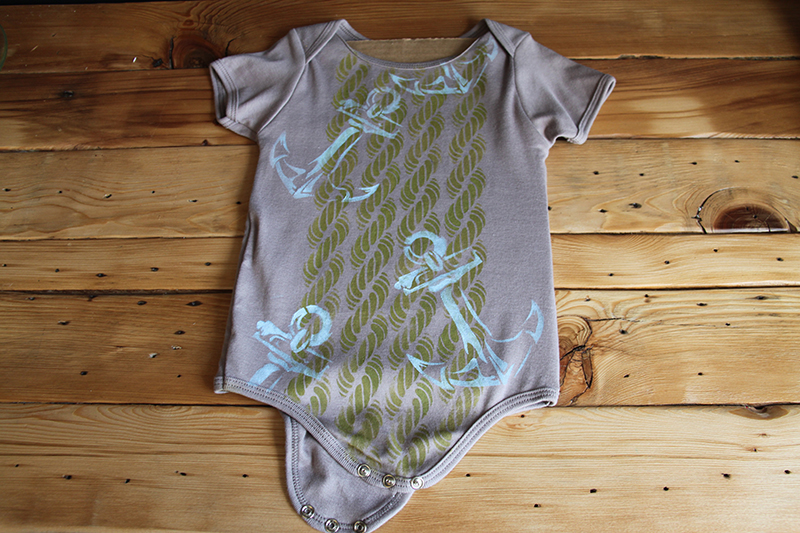
Step 4: For our second layer, we’ll use the anchor and star stencils. We used a baby blue to stencil the anchor. Start by placing the stencil on the shirt. Hold it down with one hand and stencil it with your other hand. As always, remember to use a dry brush technique! Repeat this as many times as you’d like, allowing the paint to dry if your anchors overlap.
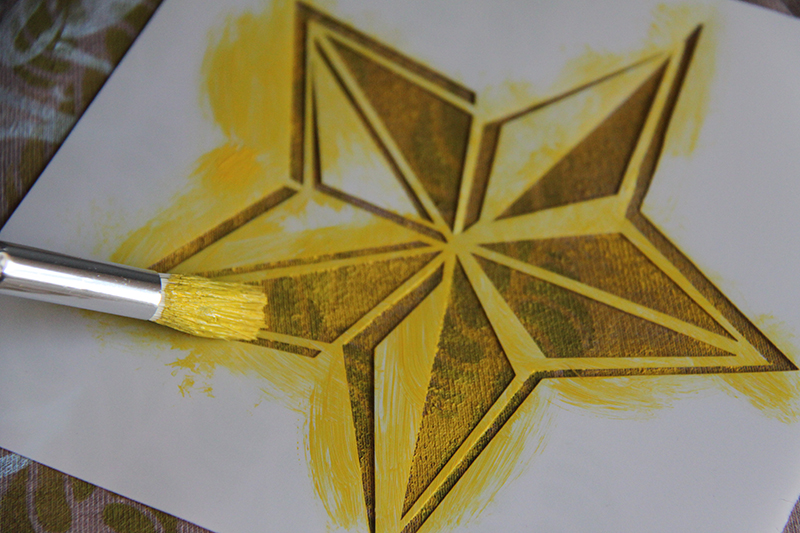
Step 5: Repeat the same process with the star stencil. We used a bright yellow to stencil the star a few times on the front of the onesie and once on the back.
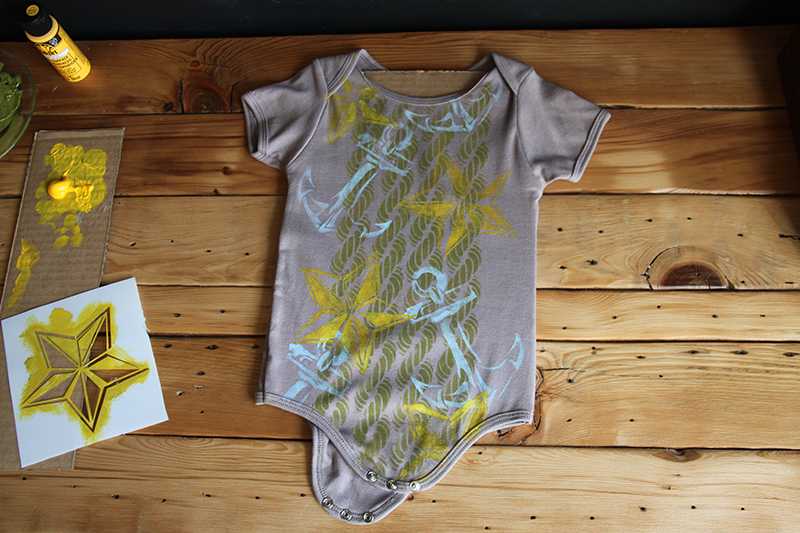
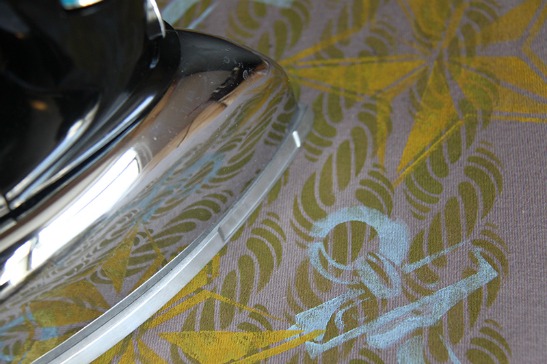
Step 6: Once the paint is dry, iron the shirt to heat seal the paint and make it washer safe. You can place a dish towel between the onesie and your iron to protect the iron and the paint.
Don’t forget to share your onesies with us @stencil1!
